How to Get Started With a Graph QL, React, Apollo Client, and Apollo Server App- Part 2
This blog is a part of 2 part series, you can find the part one where we create the backend server here. Additionally, you can find the code for the entire tutorial on Github. This series was originally posted on my personal blog. You can find links to both parts below
- How to Get Started With a Graph QL, React, Apollo Client, and Apollo Server App
- How to Get Started With a Graph QL, React, Apollo Client, and Apollo Server App- Part 2
In the previous part of this blog series, we discussed why graphql is great and how it can help us minimize the data we download and make it minimal by only requesting the data we need. So let’s start building a lightweight frontend and see how we can use Apollo Client to make our react application more efficient.
Setting up React-Apollo Client
Now, here we are going to use create-react-app to create our starter code. create-react-app is a great way to start with setting up a react project and it is built and maintain by the react team so we can expect top-notch configuration for our react application. You can check our create-react-app here.
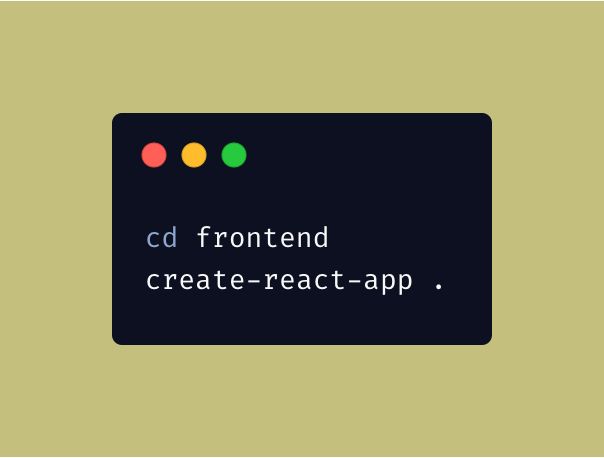
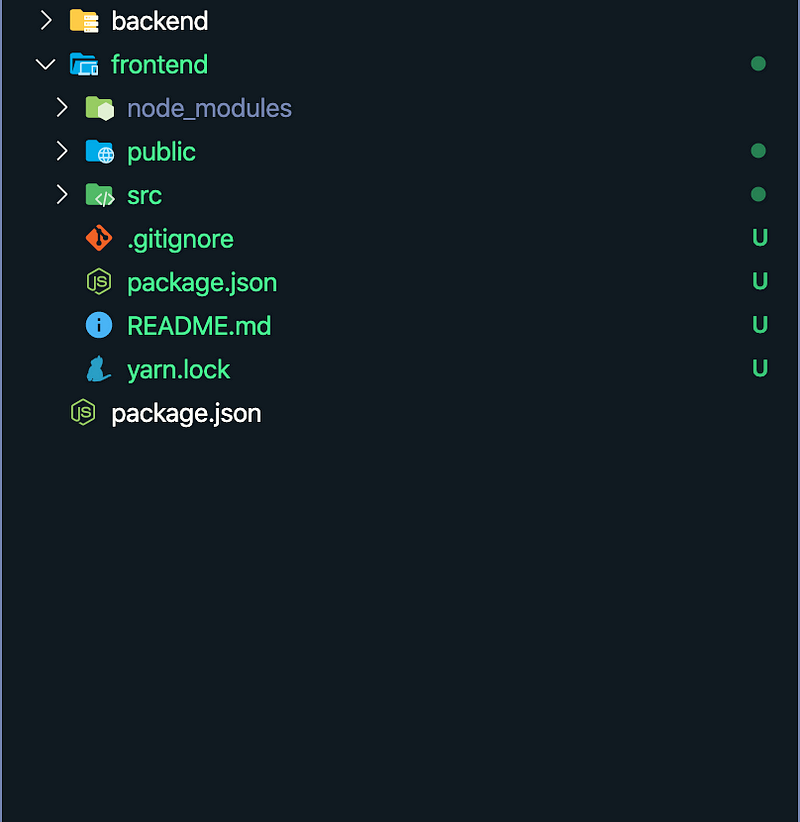
Now, since we have our basic react starter code, let’s start by adding our apollo-client dependency.
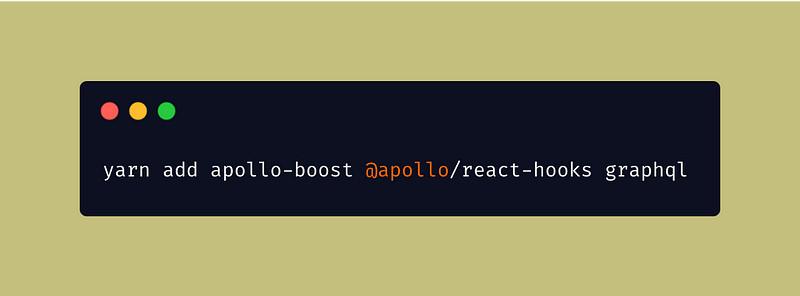
apollo-boost: Package containing everything you need to set up Apollo Client@apollo/react-hooks: React hooks based view layer integrationgraphql: Also parses your GraphQL queries
Now since we are done with adding our basic dependencies we now start by setting our apollo-client to interact with our server. So let's start by creating our apollo-client.js file.
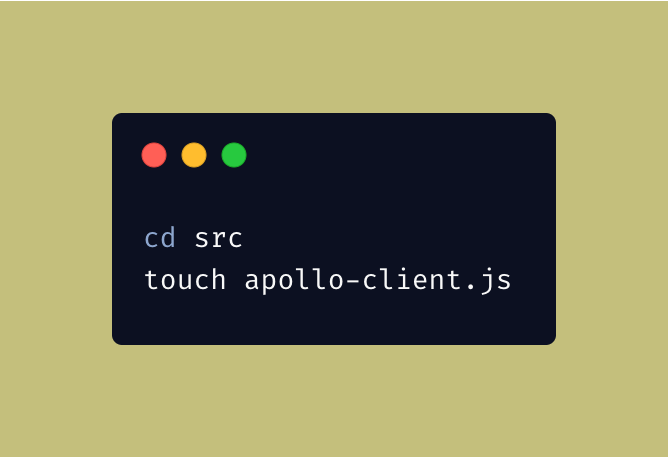
Now let’s create our apollo client so we can start interacting with our backend service.
import ApolloClient from "apollo-boost";

const client = new ApolloClient({
  uri: "http://localhost:4000/"
});

export { client };
Now, the client gives us access to a lot of methods but we are only going to use mainly 2 of them and they are mutate and query .
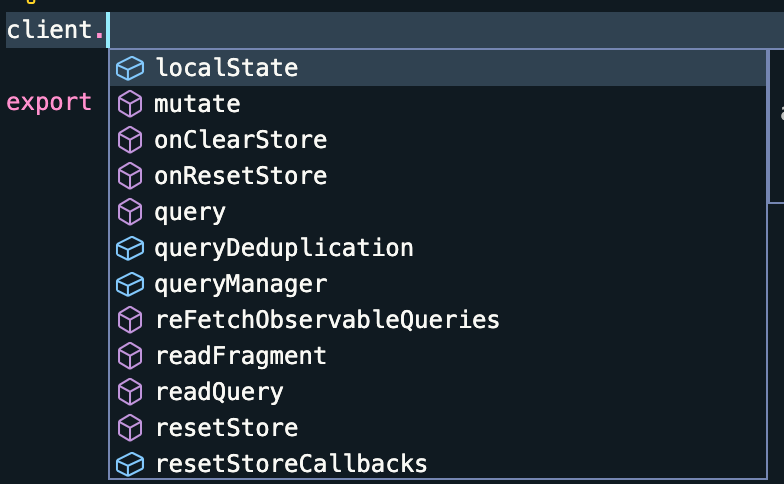
Now, as the name clearly suggests mutate is use to execute mutations on our server on the other hand query . We also have access to other methods too like localState. Apollo client also helps us maintain the state of our react application so we don’t need redux or any other state management package and we also have access to caching inbuild with the apollo-client package.
Now, we need to let our react application get access to the data which our client can use to build the interfaces. For, that we need to wrap our entire application using the ApolloProvider . The ApolloProvider is similar to React's Context.Provider. And if you have used to react before you might know about React Context. It wraps your React app and places the client on the context, which allows you to access it from anywhere in your component tree. In App.js, let's wrap our React app with an ApolloProvider.
import React from "react";
import "./App.css";
import { ApolloProvider } from "@apollo/react-hooks";
import { client } from "./apollo-client";
function App() {
  return (
    <ApolloProvider client={client}>
      <div className="App">This is a react application</div>
    </ApolloProvider>
  );
}

export default App;
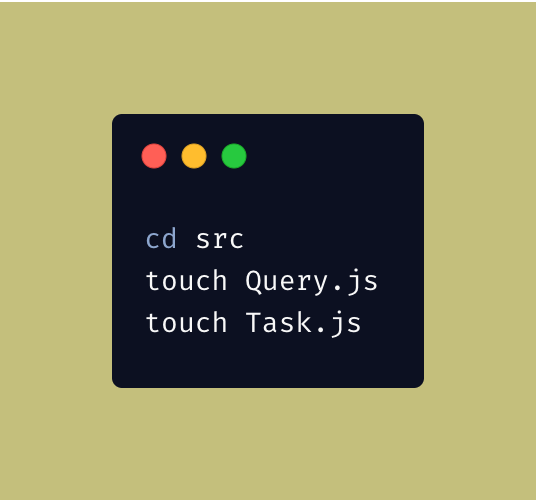
Now, as we have wrapped our entire application with ApolloProvider we can execute Query and Mutation anywhere in our application and get access to the data. Let’s see how we can do that. Let’s create a new file for our tasks and one file where we will write all our queries.
Since we have set up our apollo client and wrapped our entire application with ApolloProvider we can start requesting data with the useQuery hook! useQuery is a hook exported from @apollo/react-hooks that leverages the Hooks API to share GraphQL data with your UI. So let’s get right into it.
First, Let’s create our GraphQL query wrapped in the gql function.
import { gql } from "apollo-boost";

export const ADD_TASK = gql`
  mutation addTask($input: addTaskInput) {
    addTask(input: $input) {
      task
      id
      completed
    }
  }
`;

export const UPDATE_TASK = gql`
  mutation updateTask($input: updateTaskInput) {
    updateTask(input: $input) {
      task
      id
      completed
    }
  }
`;

export const GET_TASK = gql`
  query getTask($input: fetchTaskFilter) {
    fetchTasks(filter: $input) {
      task
      id
      completed
    }
  }
`;

export const GET_TASKS = gql`
  query getTasks {
    fetchTasks {
      task
      id
      completed
    }
  }
`;
Now, we can use these queries into the useQuery hook. When our component renders and the useQuery hook runs, a result object will be returned containing loading, errorand data properties. Apollo Client tracks error and loading state for us, which will be reflected in the loading and error properties. Once the result of your query comes back, it will be attached to the data property. So, we can handle all states of application from object which we get back from our useQuery hook.
So let’s create our first component with useQuery hook and fetch our tasks.
import React from "react";
import { GET_TASKS } from "./Query";
import { useQuery } from "@apollo/react-hooks";

const Task = () => {
  const { loading, error, data } = useQuery(GET_TASKS);

  if (loading) return "Loading...";
  if (error) return `Error! ${error.message}`;
  return (
    <ul>
      {data.fetchTasks.map(task => (
        <li>{task.task}</li>
      ))}
    </ul>
  );
};

export { Task };
Now, we are just needed to add our newly added component inside our App.js so we can see the result. Let’s do that.
import React from "react";
import "./App.css";
import { ApolloProvider } from "@apollo/react-hooks";
import { client } from "./apollo-client";
import { Task } from "./Task";
function App() {
  return (
    <ApolloProvider client={client}>
      <Task />
    </ApolloProvider>
  );
}

export default App;
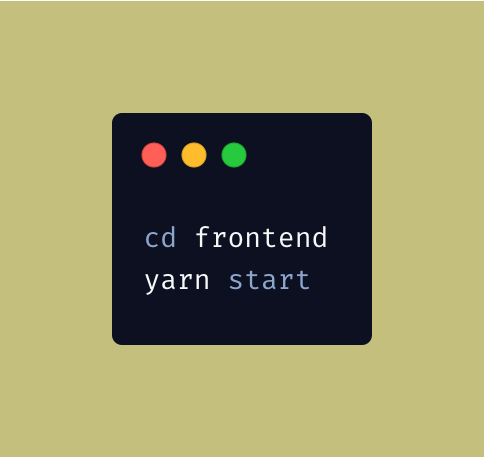
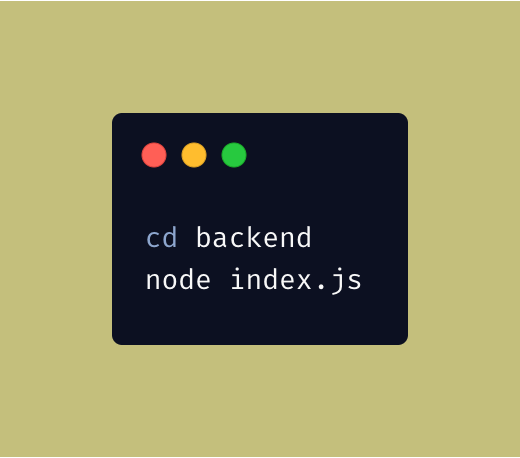
Now, let's start our backend service and our front end service and see the result.
Now, let's go to http://localhost:3000/ and see what our app looks like.

Now, this doesn't look good to the eyes but you get the idea. We have set up our apollo client and we are able to fetch our data from the database. Now but we have one small problem. On the front page, we are over fetching, we are just using the task name but we are fetching all the id and whether they are completed or not. That’s not good over fetching means we are using more data of user during that network call and we want to save our network bandwidth, in our case, it will be next to nothing but when it comes to big application saving bandwidth means your applications loads faster, it is more responsive and that’s we need to improve the speed of our application. So let’s fix that and remove all the unnecessary fields and make our queries lightweight save some bandwidth. We can do that just by updating GET_TASKS query.
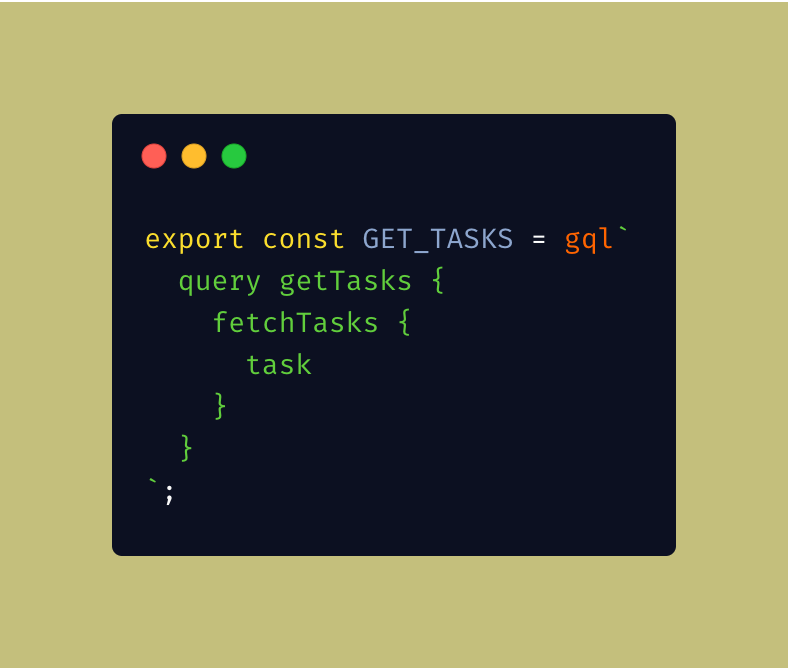
Now after doing that if we go back to our application we see that nothing changed and that’s the power of graphql. You can just ask for the data you are using and save on some network bandwidth.
Now, let's move forward and our second query which will be Mutation to add some data to our backend service. Let’s create a new component inside our src folder to add tasks to our backend.
import React from "react";
import { useMutation } from "@apollo/react-hooks";
import { ADD_TASK } from "./Query";
const AddTask = () => {
  let input;
  let completed;
  const [addTasks, { data }] = useMutation(ADD_TASK);
  console.log(data);
  return (
    <div>
      <form
        onSubmit={e => {
          e.preventDefault();
          addTasks({
            variables: {
              input: {
                name: input.value,
                completed: completed.checked
              }
            }
          });
          input.value = "";
          completed.checked = false;
        }}
      >
        <input
          ref={node => {
            input = node;
          }}
        />
        <input
          type="checkbox"
          ref={node => {
            completed = node;
          }}
        />
        <button type="submit">Add Task</button>
      </form>
    </div>
  );
};

export { AddTask };
Now, we created our component to create Task in our backend, let’s add it to our App.js file and see how it looks.
import React from "react";
import "./App.css";
import { ApolloProvider } from "@apollo/react-hooks";
import { client } from "./apollo-client";
import { Task } from "./Task";
import { AddTask } from "./AddTask";
function App() {
  return (
    <ApolloProvider client={client}>
      <AddTask />
      <Task />
    </ApolloProvider>
  );
}

export default App;
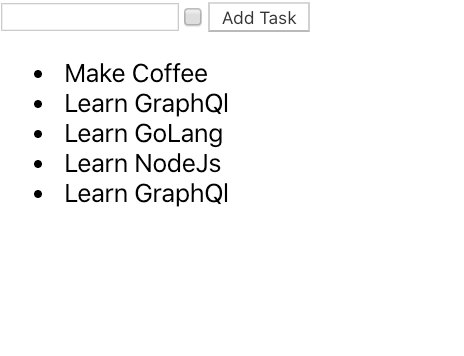
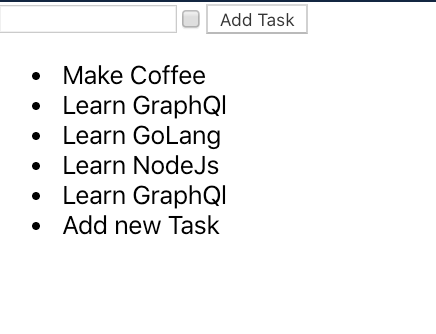
Now see our new Component and let’s add some tasks, and see if it works. Now we add our new task called Add new Task but only after we refresh the page because that's when the re-fetch of the data happens. We can easily fix that but we should be happy because now we are able to interact with both our queries and mutation on backend service and we can do that very efficiently by only requesting the data we need for our front end service.
Now, one more really useful method which Apollo client gives us is called refetch and as the name suggests we can fetch some data again if we feel that data might have been updated so let's see how we can use that method. Now to use that method we might have to do some refactoring of the code. But first, let’s see where that method lives.

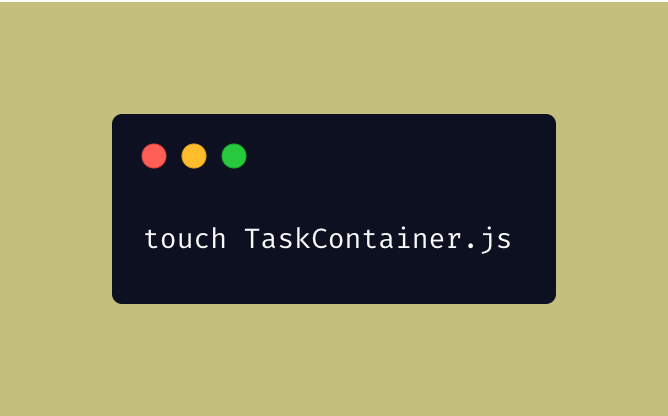
Now, where ever we use useQuery we get access to the refetch method. Refetching enables you to refresh query results in response to a particular action. In our case, we can use the refetch method to fetch additional tasks whenever we add our new task. So let’s do some refactoring and move the state one level up so we can pass this method to AddTask component for it to use it. Let’s create another component called TaskContainer and move our AddTask and Task components inside it.
import React from "react";
import { useQuery } from "@apollo/react-hooks";
import { Task } from "./Task";
import { AddTask } from "./AddTask";
import { GET_TASKS } from "./Query";
const TaskContainer = () => {
  const { loading, error, data, refetch } = useQuery(GET_TASKS);

  return (
    <>
      {" "}
      <AddTask refetch={refetch}/>
      <Task error={error} loading={loading} data={data} />
    </>
  );
};

export { TaskContainer };
Now we have moved the state of Task component to a level up and we can pass this state as props to our Task component.
import React from "react";

const Task = ({ loading, error, data }) => {
  if (loading) return "Loading...";
  if (error) return `Error! ${error.message}`;
  return (
    <ul>
      {data.fetchTasks.map(task => (
        <li>{task.task}</li>
      ))}
    </ul>
  );
};

export { Task };
We have our task component unchanged except now instead of having a local state we have state coming from the props. Now, inside our App.js file we just have to import our newly created component and we are almost done with the refactoring.
import React from "react";
import "./App.css";
import { ApolloProvider } from "@apollo/react-hooks";
import { client } from "./apollo-client";
import { TaskContainer } from "./TaskContainer";

function App() {
  return (
    <ApolloProvider client={client}>
      <TaskContainer />
    </ApolloProvider>
  );
}

export default App;
Now, let's see how we can use our refetch method. As you know we have passed that method down to AddTask component so we have access to that method through props. So let’s get into our AddTask.js file. Let’s see what we want to do, so we want to refetch all our tasks whenever we add a new task, so we can add the refetch method inside our onSubmitcall after we have successfully added our new task. Let’s see how that looks.
import React from "react";
import { useMutation } from "@apollo/react-hooks";
import { ADD_TASK } from "./Query";
const AddTask = ({ refetch }) => {
  let input;
  let completed;
  const [addTasks, { data }] = useMutation(ADD_TASK);
  console.log(data);
  return (
    <div>
      <form
        onSubmit={e => {
          e.preventDefault();
          addTasks({
            variables: {
              input: {
                name: input.value,
                completed: completed.checked
              }
            }
          });
          input.value = "";
          completed.checked = false;
          refetch();
        }}
      >
        <input
          ref={node => {
            input = node;
          }}
        />
        <input
          type="checkbox"
          ref={node => {
            completed = node;
          }}
        />
        <button type="submit">Add Task</button>
      </form>
    </div>
  );
};

export { AddTask };
Now, when we go back to our browser and add new task we don't have to refresh our page and we see our newly added task there. Now, I know we could have done it many ways without making a network call but here I just wanted to show the methods which we get from apollo client which can help us in many other situations. Now, apart from refetch we also get polling in which we can specify after how many intervals of time we want a specific query to fire and fetch data from the backend service. Polling provides near-real-time synchronization with your server by causing a query to execute periodically at a specified interval. Let’s see a little example of polling too.
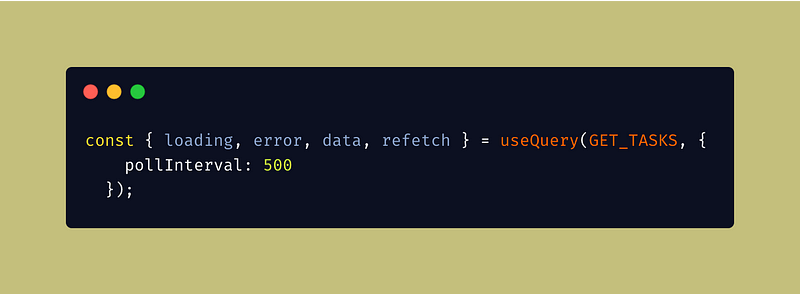
Now, By specifying the polling to 500, we’ll fetch the tasks every 0.5 seconds from our backend service. Now, these little methods can be handy during some situations and are good to have. One of the most important thing about apollo client is that provides us with caching build in. we can specify how we want to fetch data from our backend by specifying the fetchPolicy . It’s really helpful when you are building highly responsive and fast applications.
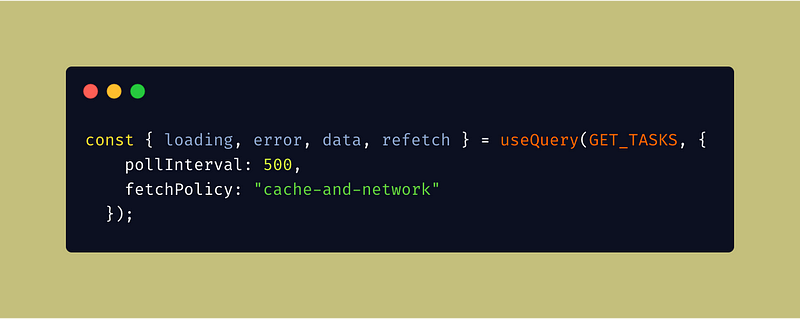
Now, this allows you to specify when results should be fetched from the server, and when data should be loaded from the local cache. The fetch policy tells Apollo whether to prioritize getting the most recent data from the server or getting faster responses from the cache. Now, it’s completely up to you how you want to define your fetch policy depending upon your use-case.
Conclusion
Creating an application with graphql can give you a lot of benefits and there are a lot of great libraries out there for doing so but so far apollo-client is one of the best and gives you a lot of useful methods which can be of real help in some scenarios. And building your services with graphql can give you a lot of benefits like saving on some bandwidth, the client has more control over the data, what data they want and can decide what data is useful for building certain components and what’s not.

